| Working with Tools | Create Map Link | Swipe |
| Quick Identify | Using Results | Google and Microsoft Tools |
| What's Nearby | Measure | |
| Identify | Markup | Bookmarks |
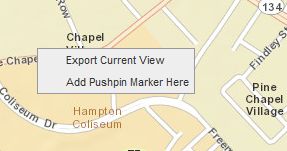
All tools are available at the top of the mapping menu. When you open a tool, options are available for using the tool. You can continue to navigate on the map – zoom, pan, and change the extent of the map – while using any of the tools. This means that you can measure, markup, print, and user other tools and still change your current extent on the map. You can also right-click on the map at any time to bring up the option to Export the current view or to insert a pushpin marker on the map. Choosing the "Export Current View" option will open the Print / Export menu. Choosing the "Add Pushpin Marker Here" option will insert a pushpin on the map and will send the pushpin to the Markup tool.

You can quickly find out about features on the map simply by single-clicking on the feature. This will display the bubble-window for the feature which contains basic information as well as a link (View details) back to the "Details" tab for the selected property. The "What's Nearby" tool, which is described in the next section, can also be accessed from this window.
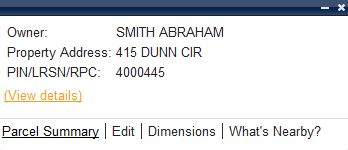
The What's Nearby tool is available from the Quick Identify bubble window, and it allows users to perform geographic proximity searches for features within a specified distance of the selected feature. By default What's Nearby will search all layers that are available to the tool.
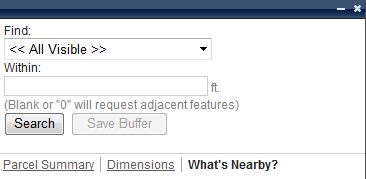
To search specific layers in the map, click on the box where it says "All Visible" and a list of available layers will appear. Simply click the layer to which you want the search restricted.
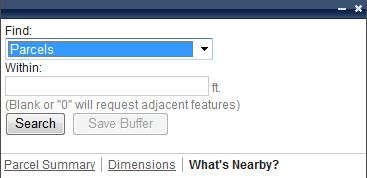
As noted in the tool, leaving the "Within:" box empty or entering a value of "0" will return all features that are adjacent to the selected property to the results tab. If a value greater than "0" is entered in the box, a buffer polygon will be created around the selected feature. All search features that touch this buffer area will be returned in the results tab. The buffer will be drawn on the screen and can be saved to Markup by clicking the "Save Buffer" button.

For details on how to work with the records returned to the Results tab, see the "Using Results" section of this help document.
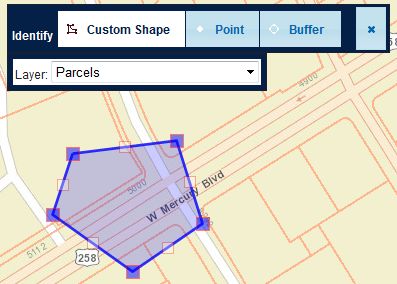
The Identify tool can be used to view attributes about map features by clicking on the map or clicking Point, Custom Shape, or Buffer buttons in the Identify tool window and clicking or drawing a sketch on the map. When using the Polygon tool, each click on the map will place a vertex (corner) and allow users to define the shape of the area. The buffer tool allows you to enter a predefined buffer distance when querying the map. The point tool sets a pixel tolerance on the buffer so that you can adjust the accuracy of your mouse clicks on the map. As with the "What's Nearby" tool, the search can be run on all visible features, or it can be restricted to specific features by choosing a layer from the drop-down list. The following functionality is available in the Identify tool:
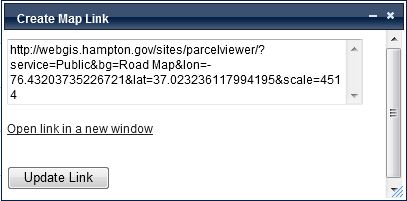
The Create Map Link tool will open a window that will display a URL that can be used to access the same spatial location and extent on the map. The link also contains information about the current background layer which will be displayed each time the URL is accessed. This URL can be saved by the user to be used later or shared with other users. After the window has been opened, the "Update Link" button can be used to provide a new URL if the map extent or background layer has been changed.
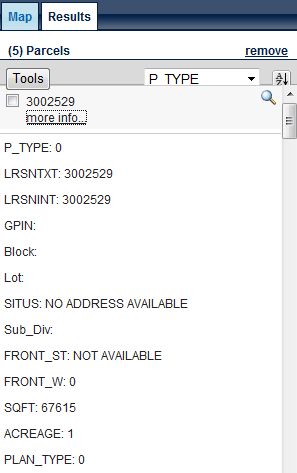
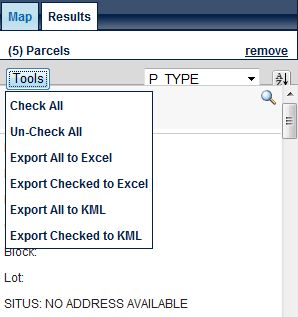
Once features have been identified on the map, you can investigate the results using the results tab on the Console. The layer name and number of returned records will be provided.

To open the returned records, click on the layer name in the Results tab:
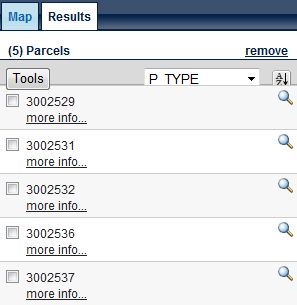
To view detailed attributes for a record, click on "more info…":

|
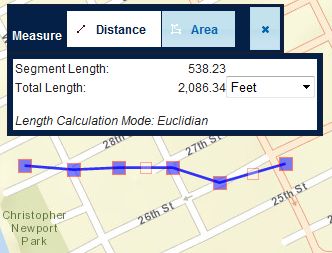
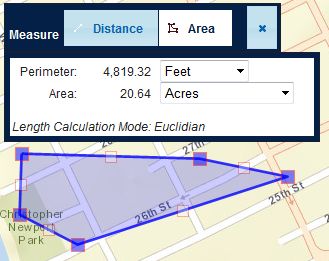
The Measure tool can be used to measure user defined distances and areas in the map panel. The following functionality is available in the Measure tool. To measure linear distances, click on the "Distance" button and click on the map to start sketching a line. To measure an area, click on the "Area" button in the Measure tool window and start sketching a polygon. |
|
|
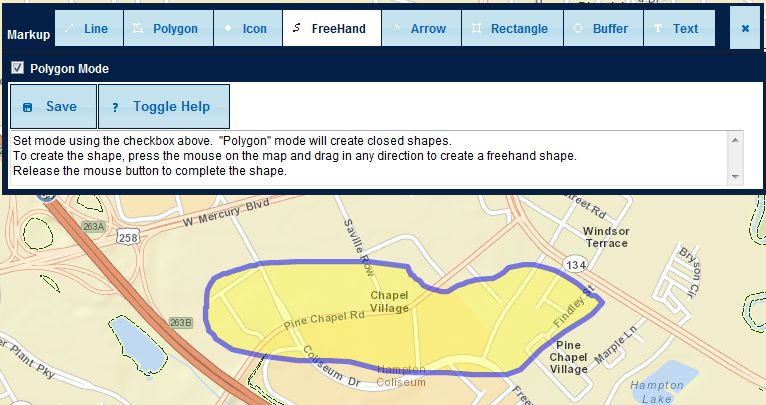
The Markup tool is used to create geographically referenced and/or feature-linked graphics and text which can be displayed on the map at varying scales. Markup items are a permanent part of the current map session and will be visible when you print or export a map. To use the tool, select from one of the choices on the Markup toolbar and then draw the Markup on the map. There are eight different types of Markup available on the toolbar as shown below:

After selecting a Markup tool, specific instructions for how to use the tool can be viewed by clicking on the "? Toggle Help" button. After the markup has been created, click on the "Save" button to save it to your Markup Collection.
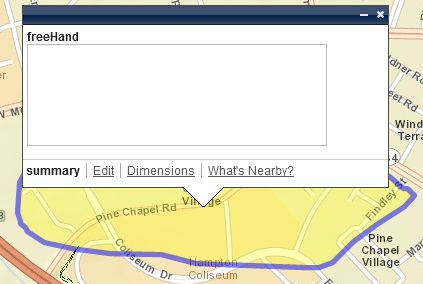
After clicking "Save" a summary box will be displayed on the map, and a new "Temporary Markup" folder and a new graphic will be created in the Map tab on the console. The user can then click on the "edit" link at the bottom of the bubble window to update properties of the markup or click on the "What's Nearby" link to run a geographic proximity search.

|
|
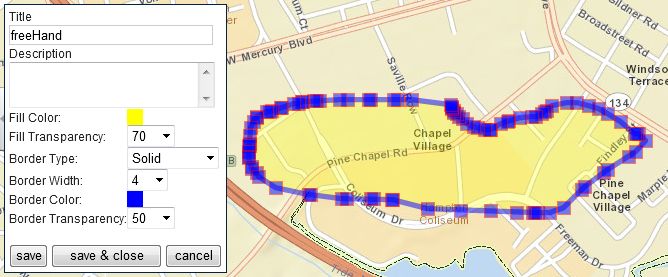
After clicking the "edit" link, the user can then edit the markup properties (size, color, shape, name) , outline / fill color and transparency, and line width as well as modify graphics and text. By default, the application provides a name using the shape type chosen by the end user but you can rename the mark up and click on the Save button to save it in your current map session. You can also enter a description for the mark-up which will be available whenever you click on the mark-up item on the map in a new bubble window:
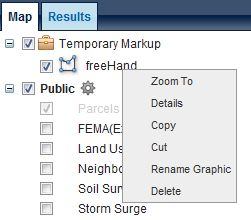
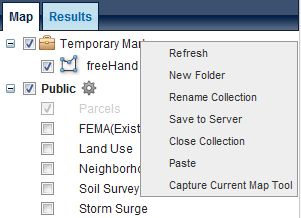
New markup items are automatically placed in the "Temporary Markup" collection available at the top of the map tab on the console. Each markup collection is organized by a folder with the name of the collection. Most items created in the map can be imported into a collection and used in the current map session. You can turn off and on markup items by clicking on the checkbox beside the markup, just as you would a normal map layer. If you right-click on any markup item, you are given a number of options for managing the markup:
 /',.m:
You can Zoom To a markup item, open the details for a markup item, rename it and delete it from the collection. The Cut and Copy options allow you to move individual markup items within collections. If you right-click the mark-up collection name, you have a number of options available for managing the collection. This includes creating one or more sub-folders within a markup collection where you can organize markup graphics, renaming the collection, closing the collection, and capturing the current map tool graphic to the markup collection.
The Swipe tool allows you to quickly toggle between two background layers. Choose whether you want to swipe horizontally or vertically, the background resource you want to “swipe” from the list on the menu and, using your mouse, drag from left to right or top to bottom to toggle the background layers.
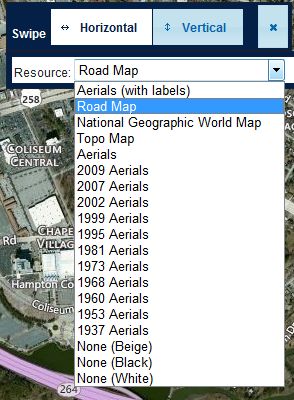
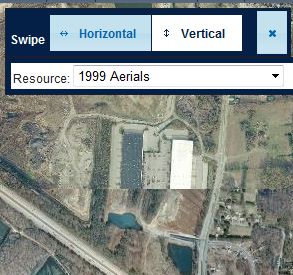
This tool is useful to determining changes that may be visible on two background datasets. If you press the ctrl key while the Swipe tool is open, the normal navigation tools will be available. This allows you to pan and zoom on the map and quickly switch back to the swipe tool. Below is an example of a vertical swipe that compares 1999 and 2009 imagery:
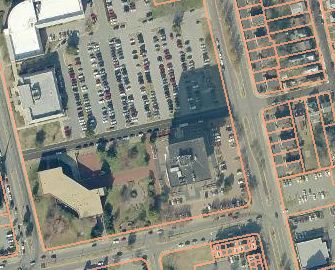
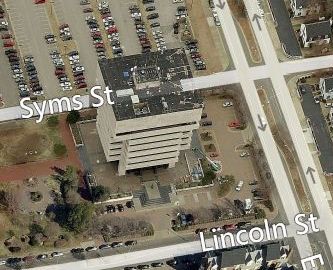
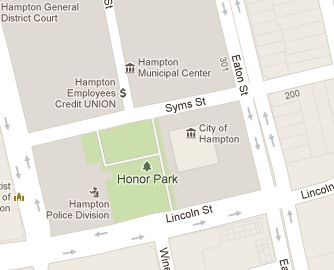
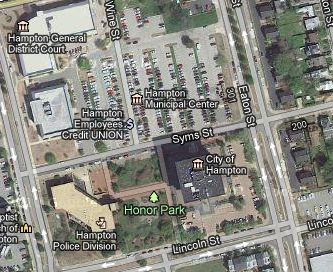
The “View In” menu gives you the choice to view the currently displayed mapping area in either Google Maps or Microsoft Bing Maps. For Google Maps, you can choose to view in Roads, Aerials, Hybrid, or Earth mode. For Microsoft Bing Maps, you can choose to view in Roads, Aerials, Hybrid,or Bird’s Eye mode. The Google and Microsoft Bing Maps views will be launched in a new browser tab, and you can change to any viewing mode once the new window has opened.

|

|

|

|

|

|
| Hampton 2009Aerials | Bing - Bird's Eye |
|
|
| Google - Roads | Google - Hybrid |
|
|
The Print tool generates a printable export of the current map. Click on the Print button on the toolbar and choose the export format. An "Export Area" will be displayed on the map which indicates the exact area that will be included in the export.
If you choose the PDF export option on the print tool, the resulting PDF map will have a number of standard layout elements available. You will be able to choose one or more map layouts from a list of templates and you have the ability to give the map a title. There are also advanced options available with the print tool that allow you to override the scale of the map and set a parameter for the quality of the map export:
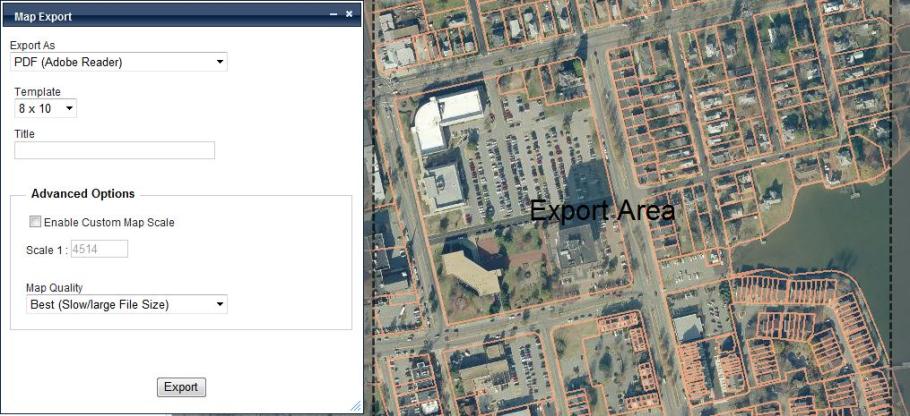
Image formats (JPEG and PNG) are provided as a simple image, and the size of the graphic can be adjusted by changing the values for Width and Height. As these values are changed in the Map Export window, the "Export Area" box on the map will adjust accordingly.
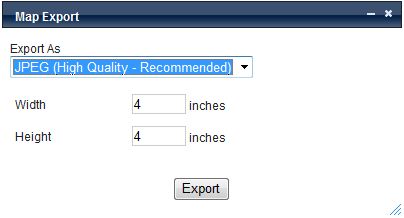
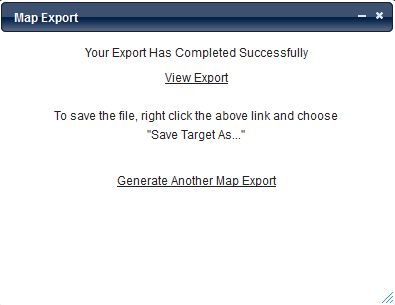
The image can be viewed in a new tab on the browser by clicking on "View Export", or the image file can be saved by right-clicking on the "View Export" link and choosing the "Save Target As..." option.
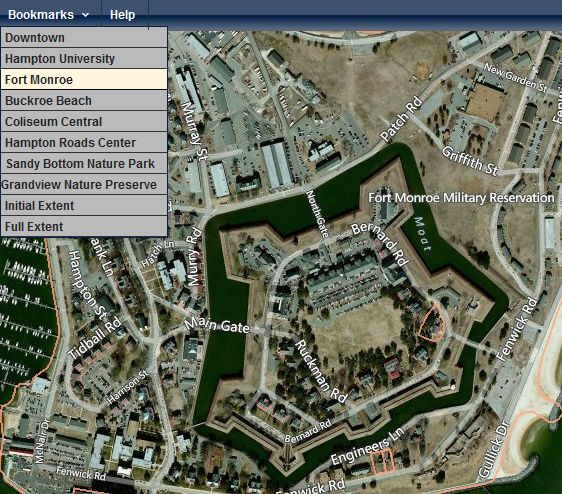
The Bookmark tool allows you to quickly zoom to specific locations on the map. Click on the named bookmark that you want to use and the map will zoom to that bookmark extent.
